Introduction:
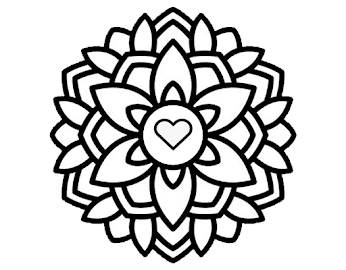
Mandalas, with their intricate patterns and geometric shapes, have been used for centuries as a form of artistic expression and meditation. Creating a mandala can be a therapeutic and enjoyable activity, even for those with limited artistic skills. In this step-by-step guide, we will explore how to draw a simple mandala, breaking down the process into easy-to-follow steps.
Materials Needed:
Paper or Sketchbook
Pencil
Eraser
Compass
Ruler
Fine-tip markers or pens (optional)
Step 1: Gather Your Materials
Ensure you have all the necessary materials before you begin. Having a dedicated space and a calm environment can enhance your drawing experience.
Step 2: Start with a Circle
Using a compass, draw a circle in the center of your paper. This will serve as the base for your mandala. The size of the circle depends on your preference, but a diameter of 6-8 inches is a good starting point.
Step 3: Divide the Circle
Use a ruler to draw a straight line from the top of the circle to the bottom, dividing it in half. Next, draw another line from the left side to the right, intersecting the first line at the center. This will create four quadrants within the circle.
Step 4: Add More Lines
Continue dividing each quadrant by drawing more lines. You can create as many sections as you like, keeping the divisions evenly spaced. The lines will act as guidelines for your mandala's patterns.
Step 5: Create Basic Shapes
In each section, start drawing basic shapes like circles, triangles, squares, or any other geometric form. Experiment with different shapes in each section to add variety to your mandala.
Step 6: Repeat Patterns
Begin filling in each shape with repeating patterns. These patterns can be lines, dots, curves, or any design that appeals to you. Take your time and enjoy the process of creating intricate details within each shape.
Step 7: Connect the Patterns
As you fill in the shapes, consider connecting the patterns across different sections. This helps create a cohesive and harmonious look for your mandala. Be creative and experiment with different ways of connecting the elements.
Step 8: Add Details
Enhance your mandala by adding finer details to the patterns. You can use smaller shapes, dots, or lines to create depth and complexity. This step allows you to personalize your mandala and make it uniquely yours.
Note: Learn More about Importance of "Early Childhood Education"
Step 9: Clean Up
Once you are satisfied with your mandala, use an eraser to remove any remaining pencil lines. This will leave you with a clean and polished final piece.
Step 10: Optional Coloring
If you prefer, you can add color to your mandala using fine-tip markers or pens. Choose a color scheme that resonates with you and carefully fill in the different sections of your mandala.
Conclusion:
Creating a simple mandala can be a meditative and fulfilling experience. The step-by-step guide above provides a structured approach, but feel free to experiment and let your creativity flow. Whether you're a seasoned artist or a beginner, drawing mandalas can be a relaxing and rewarding activity that promotes mindfulness and self-expression. So, grab your materials and start drawing your way to a beautifully crafted mandala!


