
Introduction:
Drawing is a timeless form of self-expression that allows individuals to bring their imagination to life on paper. One captivating subject that has inspired artists for centuries is the mythical creature, the Pegasus. With its majestic wings and divine presence, the Pegasus symbolizes beauty and grace. In this step-by-step guide, we will explore the process of drawing a Pegasus, unlocking your artistic potential and allowing you to create a stunning masterpiece.
Materials Needed:
Before we embark on our artistic journey, gather the following materials:
Drawing paper or sketchbook
Pencils (preferably a range from H to 4B for varied shading)
Eraser
Sharpener
Fine-tipped black pen or ink for outlining (optional)
Colored pencils or markers (optional, for adding color)
Step 1: Basic Outline
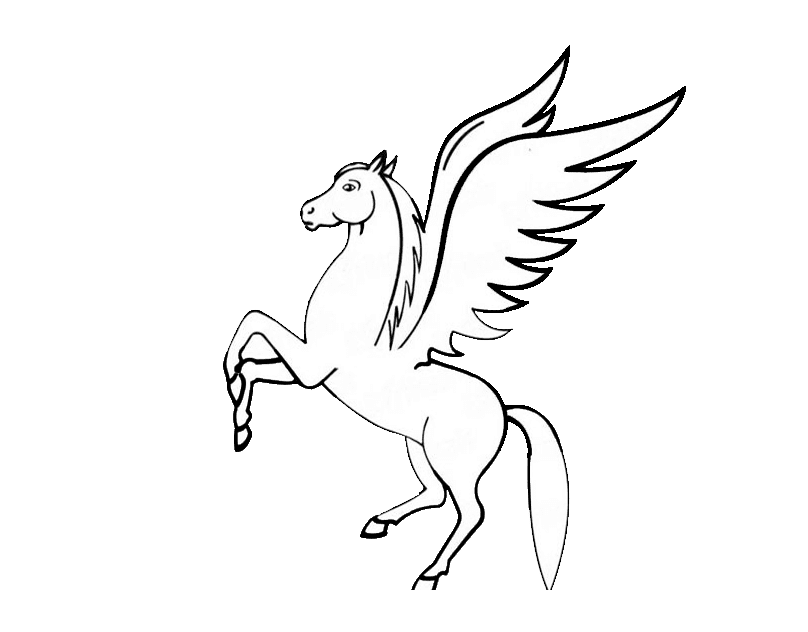
Start by lightly sketching the basic shapes that will form the Pegasus. Begin with the head, neck, and body. Keep in mind the proportions, ensuring that the body is longer than the head and the neck gracefully arches.
Step 2: Add Wings
Pegasus is renowned for its magnificent wings. Draw two large, feathery wings extending from the upper back of your creature. Emphasize the curvature and feather-like details. Imagine the wings stretched wide, ready for flight.
Step 3: Detail the Head
Refine the details of the Pegasus's head. Add expressive eyes, a flowing mane, and a distinctive muzzle. Capture the essence of a horse's features while incorporating a touch of fantasy.
Step 4: Outline the Body
Go over your initial sketches, refining the contours of the Pegasus's body. Pay attention to the curvature of muscles and the flowing lines that create a sense of movement. Add details such as the tail and any additional features you envision.
Step 5: Refine and Shade
Now, it's time to add depth to your drawing. Start shading areas where shadows naturally fall, such as beneath the wings and around the neck. Use a range of pencils to create varying degrees of darkness. Take your time to add dimension and bring your Pegasus to life.
Note: Learn More about Importance of "Early Childhood Education"
Step 6: Add Background (Optional)
Consider placing your Pegasus in a suitable environment. Whether it's a celestial sky, a lush meadow, or a mountainous landscape, the background can enhance the overall impact of your drawing. Experiment with different scenes to find the perfect setting for your mythical creature.
Step 7: Ink (Optional)
For a polished look, consider outlining your Pegasus with a fine-tipped black pen or ink. This step adds definition and sharpness to your drawing, emphasizing the details and making your Pegasus stand out.
Step 8: Add Color (Optional)
If you wish to add a splash of color to your artwork, use colored pencils or markers. Experiment with different shades to create a vibrant and visually appealing Pegasus. Consider adding highlights and shadows to enhance the three-dimensional effect.

Conclusion:
Drawing a Pegasus is a delightful journey into the realm of imagination and creativity. Whether you're a seasoned artist or a beginner, this step-by-step guide provides a foundation for bringing this mythical creature to life on paper. Enjoy the process, experiment with details, and let your artistic intuition guide you as you embark on this enchanting artistic endeavor.
