
Introduction:
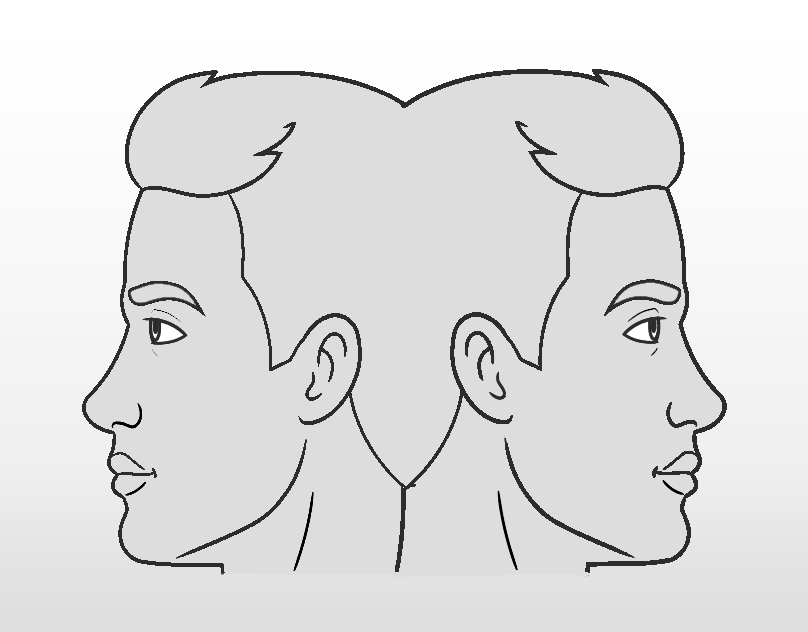
Double-face pencil sketch drawings are a captivating and unique form of art that can be a wonderful addition to your portfolio of creative skills. This technique involves creating two distinct images on the same sheet of paper, making the most of the contrasting positive and negative spaces. Whether you're an aspiring artist or an experienced sketcher, this step-by-step guide will help you master the art of double-face pencil sketch drawing.

Materials you'll need:
TwoB pencil: To create fine lines and shading.
Eraser: A kneaded eraser is ideal for precise corrections.
Drawing paper: Choose a smooth, acid-free paper to prevent yellowing over time.
Reference images: Find two images with clear positive and negative shapes.
Step 1:
Choose your images Select two reference images that contrast with each other, preferably with one being the positive subject and the other being the negative space around it. For example, you could choose a portrait as the positive image and a complex, textured background as the negative image.
Step 2:
Set up your workspace Find a quiet, well-lit workspace and gather all your materials. Make sure your paper is securely fastened to a drawing board or table to prevent any unwanted movement during the process.
Step 3:
Mark the paper Using a light touch, lightly sketch a border or frame around the edges of your paper. This will help define the boundaries for both of your images.
Step 4:
Divide your paper Divide your paper in half vertically, with one side designated for your positive image and the other for your negative space. You can do this by drawing a light vertical line down the center of the paper.
Step 5:
Begin the positive image Start working on the positive image. Using your reference, begin by drawing the main outlines and contours of the subject. Pay close attention to the proportions and details. Work with a 2B pencil to create the fine lines and shading.
Step 6:
Add details and shading Continue to refine the positive image by adding more details and shading. Pay careful attention to the light and shadow areas, and use a variety of pencil pressures to create depth and texture.
Step 7:
Erase and smudge To create smooth transitions and realistic textures, use a kneaded eraser to lift highlights and blend areas with a tissue or blending tool. This step is essential for achieving a lifelike appearance in your drawing.
Visit the Easy Drawing For kids tutorials on the soft roots website.
Step 8:
Work on the negative space Once you're satisfied with your positive image, turn your attention to the negative space. Carefully observe the reference image and begin shading the background. Use the contrast between light and dark areas to define the shape of the positive image even further.
Step 9:
Balance the composition As you progress, make sure both sides of the drawing are balanced in terms of shading and contrast. The two images should complement each other, creating a harmonious composition.
Step 10:
Final touches Take a step back and review your double-face pencil sketch drawing as a whole. Make any necessary adjustments and refinements to ensure both the positive and negative spaces are well-defined and visually engaging.
Conclusion:
Double-face pencil sketch drawing is a challenging yet rewarding art form that allows you to explore the interplay between positive and negative spaces. By following this step-by-step guide, you can create stunning and unique artworks that showcase your skills and creativity. Don't be discouraged if your first attempts aren't perfect; practice and patience are key to mastering this technique. Keep experimenting with different subjects and compositions to continue improving your double-face pencil sketching skills.
